A Day in the Dirt at Teotihuacan
by Justin Tran
Introduction
On the surface, archaeology appears simple – go to an archaeological site, start digging down, and haul out all the ancient ‘stuff’ that you can find. But in reality, archaeology involves a great degree of precise and hard work, alongside careful planning and execution in day-to-day operations. Much of the work on an excavation starts even before the first shovel hits the dirt. From simply setting up the excavation early in the morning, to survey and mapping, to detailed sketches of soil layers, to tagging and bagging of site features and artifacts, to the eventual closing down of excavations in the late afternoon, archaeologists and fieldworkers with the PPCC adhere to a daily routine and procedures that ensure we are able to make the most out of each field day and accomplish as much as we can before the months-long field season comes to a close. In this blog entry, I will detail the ins and outs of archaeological excavations in one day at Teotihuacan, so you can get a sense of the work that goes behind digging up those old artifacts you might see in a museum or news article.
Waking up bright and early around 6:00 AM (for the daring, even earlier; for the especially daring, even later), the PPCC team prepares for departure to the field. After having breakfast and suiting up in our field apparel, which usually consists of long-sleeved shirts, durable pants (pockets come in handy!), good headwear for sun protection, and sturdy boots, we begin loading up the van for departure to the field. The equipment we bring from our base can include things like Total Stations for topographic mapping and surveying, toolboxes with smaller equipment such as trowels, tape measures, handpicks, and hand pruners, and various bags and baskets to store other tools. Some of the larger equipment, like shovels, pickaxes, and wheelbarrows are stored on-site at the excavation in Teotihuacan. At approximately 7:00 AM, the team sets out from our base in San Juan Teotihuacán to the Teotihuacan archaeological zone.
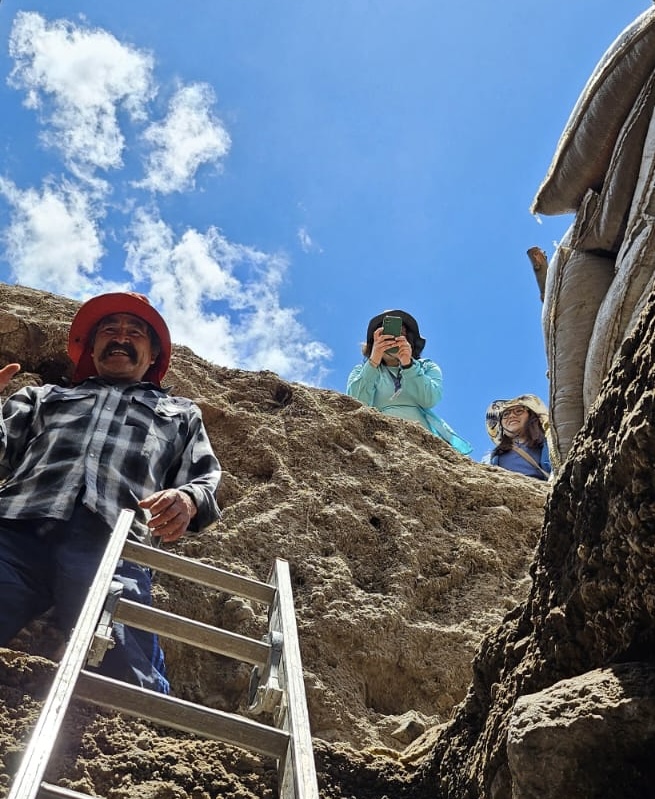
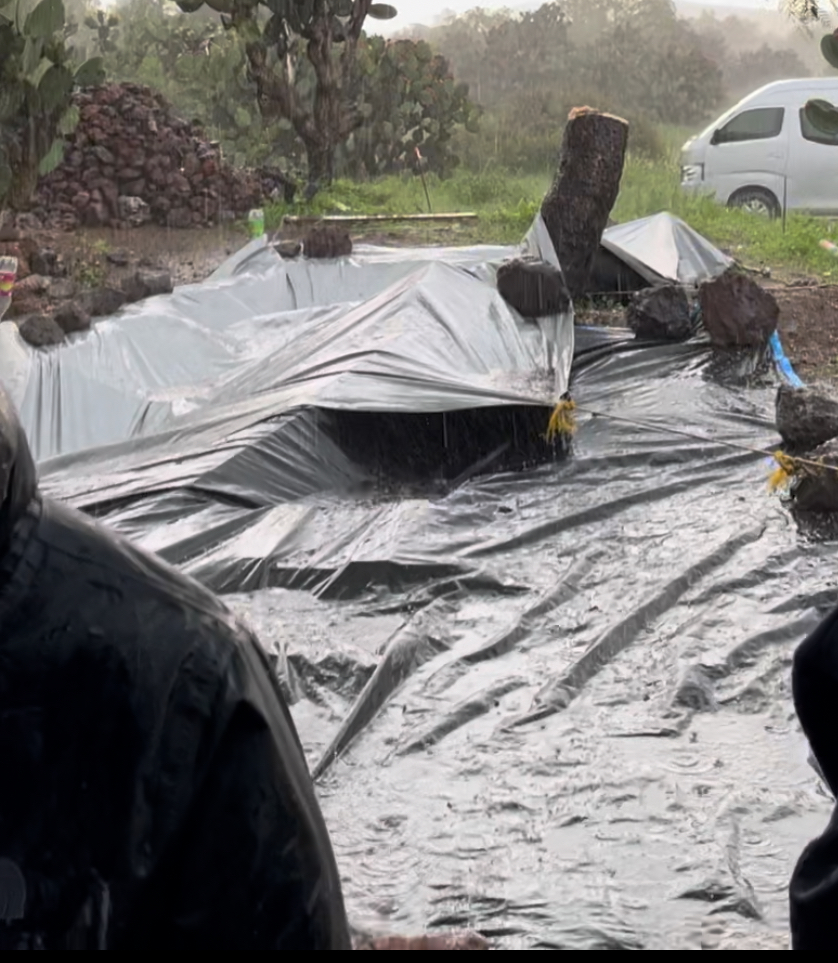
Once we arrive at the site, work begins right at 7:30 AM. We greet the local fieldworkers working with PPCC, who begin helping us unload equipment from the van and storage. As PPCC works during the summer months in Central Mexico, when it can often rain in the afternoon and throughout the night, at the end of each workday we cover the excavation pits with large tarps to protect them – naturally, in the mornings we remove these large tarps to begin working. Usually, we also prop these tarps up over the excavations to provide shade for work in the warm summer days. Afterwards, we go right back to excavating where we had finished the day before, or we open a new excavation pit entirely.
Before the Dig
Before going any further, it’s important to describe how we do excavation. Imagine that you have a layer cake with various flavors stacked vertically inside. As you “dig down” through the cake, you may realize that the flavor is vanilla at the top, chocolate in the middle, and then strawberry at the bottom. Eating a layer cake and noticing the changes in flavor is quite like what archaeologists do to systematically excavate a site! We conduct what is known as “stratigraphic excavation”, or a method of digging in which one excavates layer by layer, starting new layers upon noticing changes in soil type, and thus potentially the start of an earlier time period in the site’s history. For example, artifacts found in a layer closer to the surface can be considered to be younger than artifacts found in layers further down, and by taking note of the changes in soil layers (or strata). We can make rough estimations of artifact age and exact locations in the dig by situating them within different strata.
There are a number of things we must measure and do before even putting trowels to turf. Before opening a new pit or starting to dig into a new layer, we take a number of notes on things like the geographic coordinates of the layer or qualitative descriptions of the soil. To discuss this further, it is important to first describe how PPCC actually organizes and plans the excavation. Like many other archaeological digs, PPCC operates on a square grid pattern laid across the excavation site – any new pit opened generally follows the delimitations of the grid, the squares of which measure 3 x 3 meters. Grids are marked by sequential numbers from east to west and sequential letters from south to north. To refer to different parts of the excavation we call them by these names; for example: “Let’s open a new pit in square 18M” or “Let’s expand the pit in square 7K south to square 7J and then west to 8J”. This helps us to spatially situate the dig and make clear, definite explanations of site locations (e.g. “the wall we found extends from 7K to 7J”).
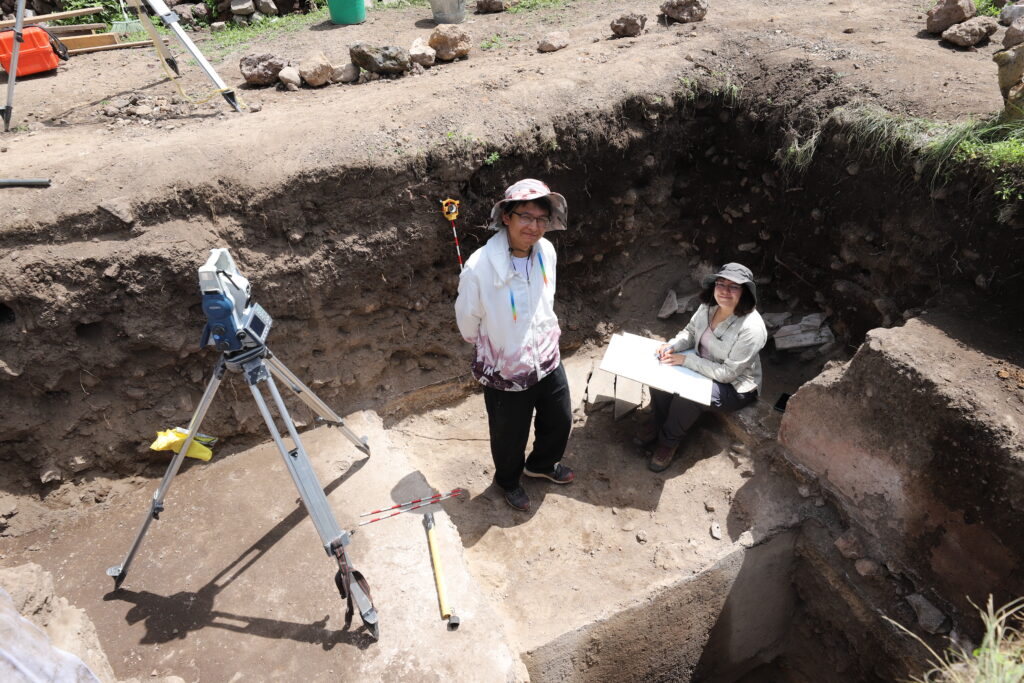
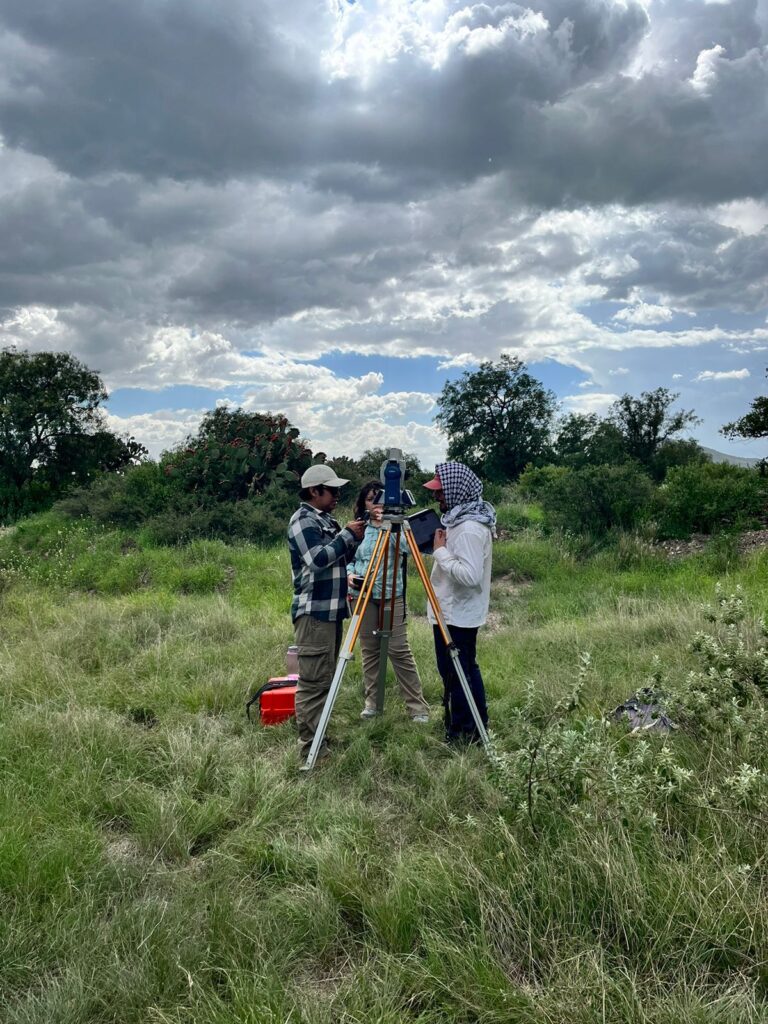
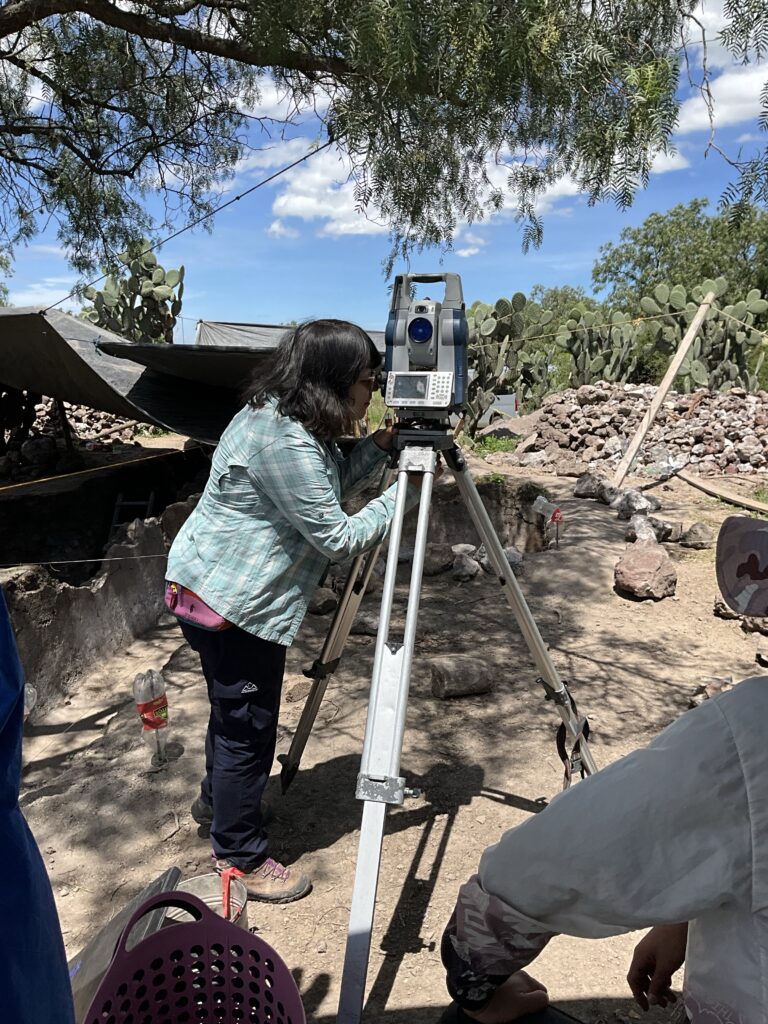
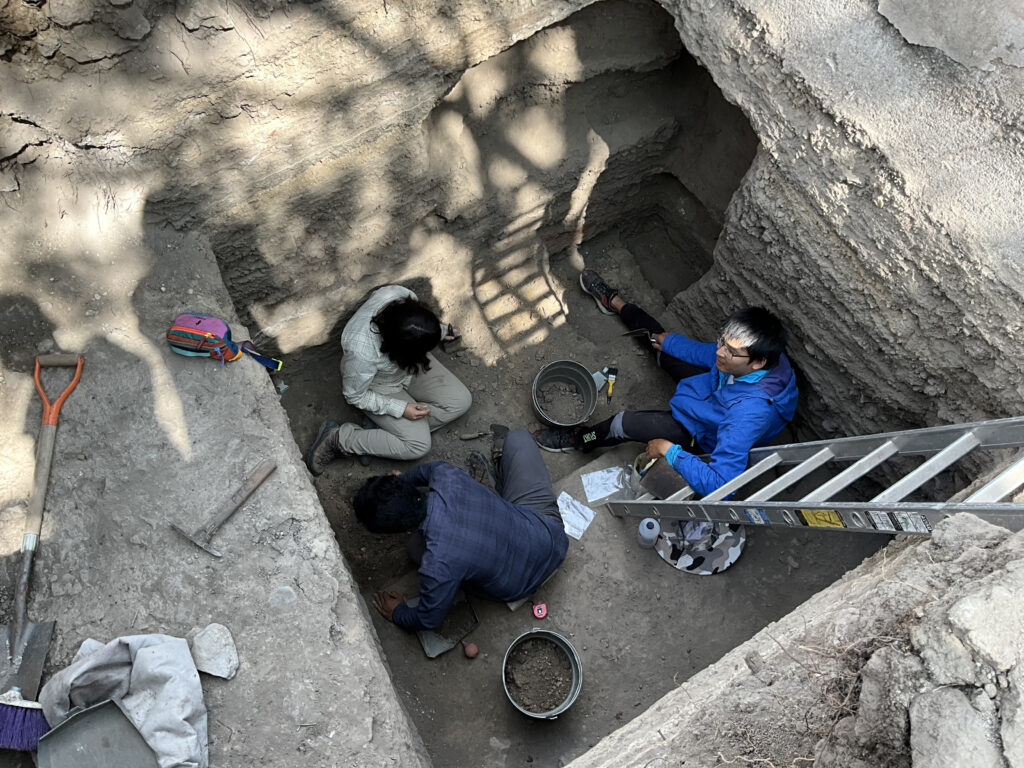
In order to start digging a new layer, first we take survey points using the Total Station. This enables us to have spatial information of the excavation and ensure that we are digging in alignment with the overall grid. This involves setting up the Total Station and a “backsight”, which is another device that the Total Station uses as a point of reference to gauge its own location. The Total Station and backsight are placed at specific locations at the site which have known XYZ coordinates in order to situate the devices in geographical space. All that remains is to point the lens of the Total Station at the surface of the layer we want to excavate, and capture four measurements at the northwest, northeast, southwest, and southeast corners of the square. Together with a telescoping ruler and a “miniature back sight” that the Total Station uses for reference, we get the XY coordinates and elevation in meters above sea level of the four corners of the square.
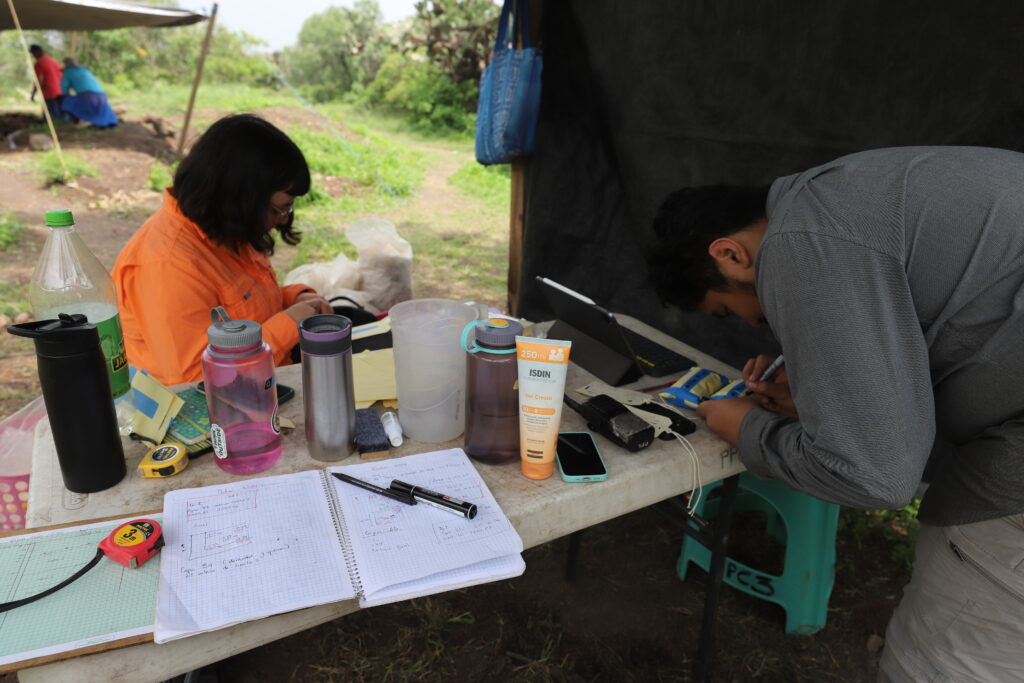
Let’s assume we are opening a new excavation square. Ensuring that the new square is situated where we want it and that it is in line with the rest of the grid, we place four metal rods into the ground at the corners of the square and tie a string between all four, creating a visible box over the surface of the earth. Next, we write down all the information we measured such as surface elevations and XY coordinates. We also evaluate the soil and take notes on its composition, compaction, texture, and possible intrusions like roots or stones, as well as compare the color of the soil to our Munsell Soil Chart, which is a tool that helps us describe the color of soil in a standardized manner. In general, we take a multitude of notes before digging a new layer such as our general objectives, a paragraph or so describing of the layer and its contents, among other quantitative and qualitative data. These Total Station measurements and written descriptions are not just done for the start of an excavation, but for every single time we change layers due to noticing a change in soil texture, color, or any other sign.
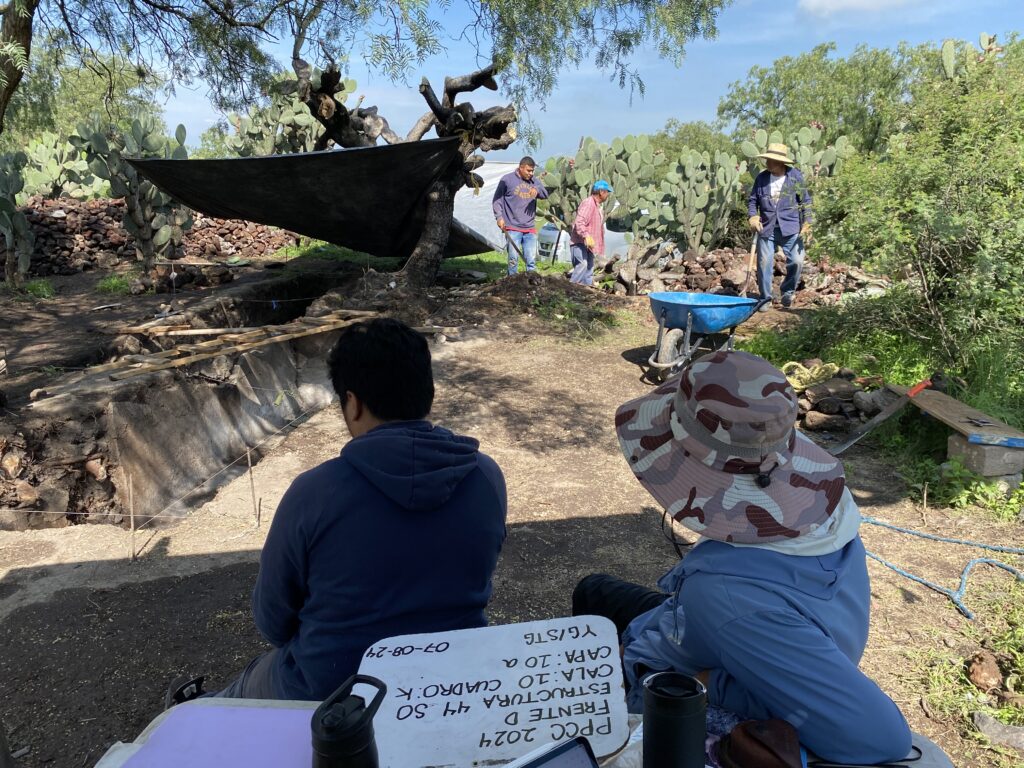
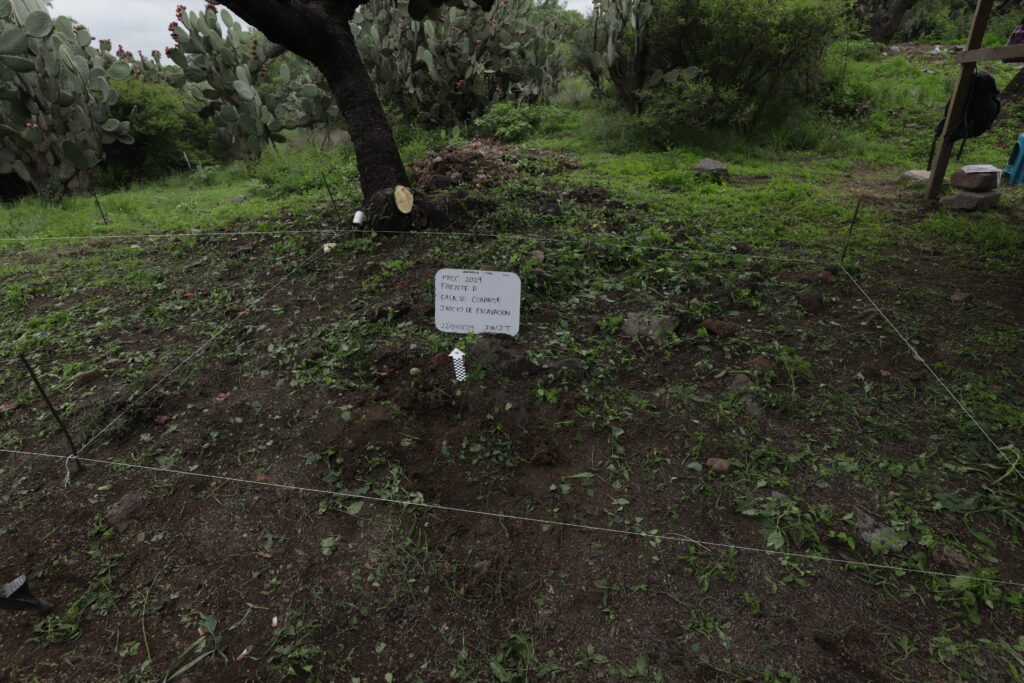
After writing down as much info as possible, we take a photo of the layer before starting to dig so that we have an idea of what it looked like before we literally “dig in”. If we are taking a photo of a layer of soil, we have to clean up the layer before we take a photo so that things are as clear as possible – after doing so with a handful of brushes, brooms, and dustpans, we usually also need to put up a tarp to provide shade, so that shadows cast by the sun do not disturb the image. Often this is already done, as we put the tarps over our heads for shade, but sometimes you need a helping hand or two to provide some additional shadows for a better-quality image. Finally, alongside a scale and north arrow for reference, we place a whiteboard in the pit with information such as the date, name of the structure or the Front in which we are excavating, name of the square, highest elevation of the surface, and other notes that help explain what we are looking at in the photo. After taking the photo with both on-site iPads and digital cameras, we can (finally!) start to dig.
Doing the Digging
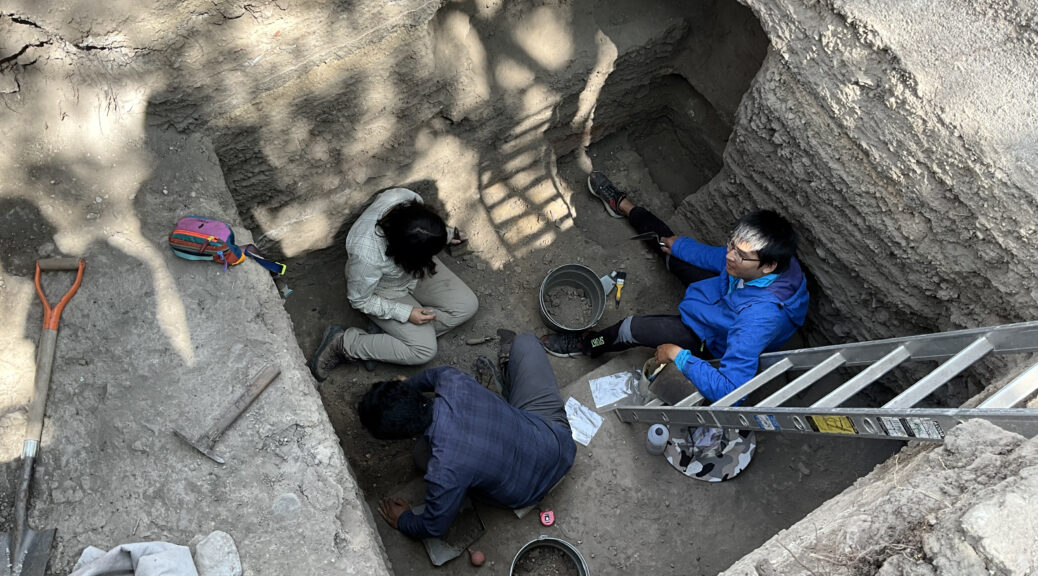
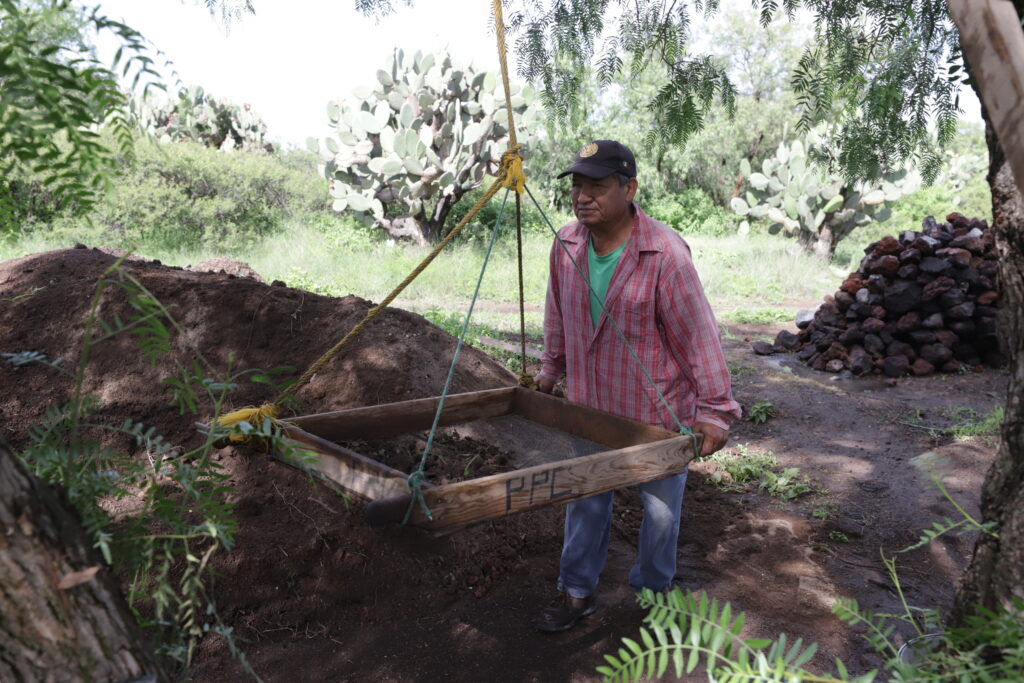
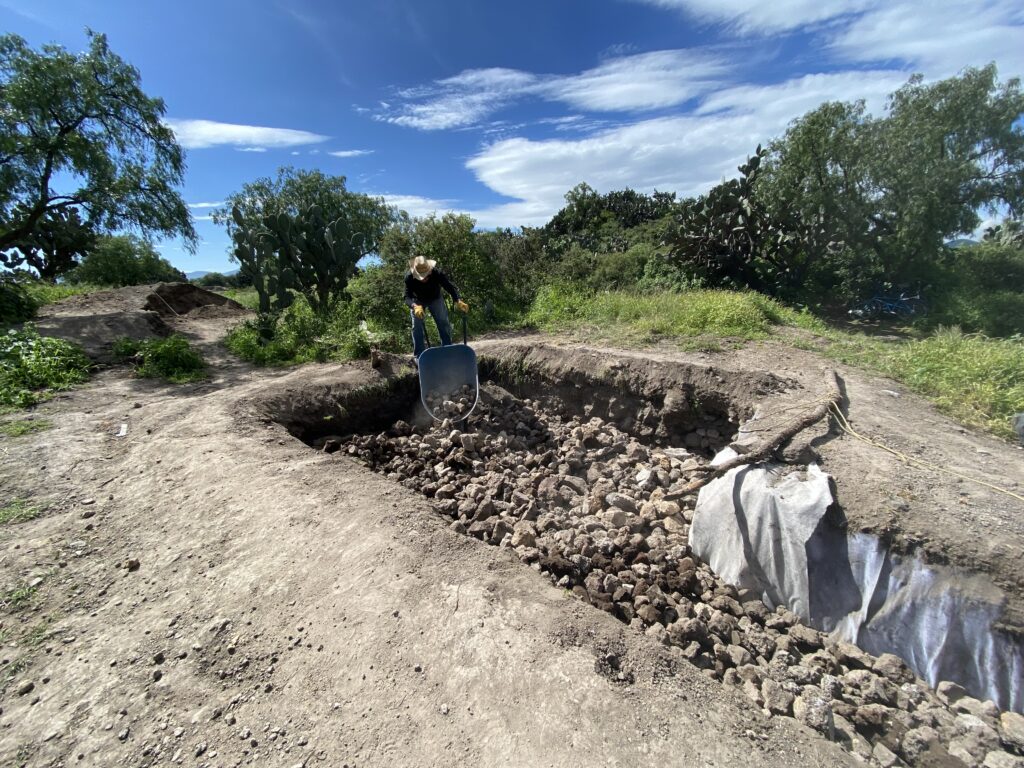
Fieldworkers put excavated soil into buckets which are then carried over to a nearby mesh screen. The soil is sifted through the screen, as smaller soil particles fall through, and larger objects are caught in the mesh wire. These larger objects can range from simply large natural stones to actual artifacts, such as ceramics and stone tools or organic materials such as charcoal or bones. These materials are placed in plastic bags for safekeeping. Organic materials like charcoal are treated with more care, extracted with sanitized trowels and placed in special Whirl-Pak bags, as charcoal can be used in further analyses like radiocarbon dating. This way of handling helps keep it uncontaminated, as human hands can contain contaminants that will disturb further analysis. All the dirt and rocks we find in the excavation are tossed into piles around the edges of the excavation – when the excavation is all over at the end of the season, we actually throw all the soil and rocks back into the earth in a process called “backfilling”, re-covering the architecture and exposed soil such that it looks like we were never even there.
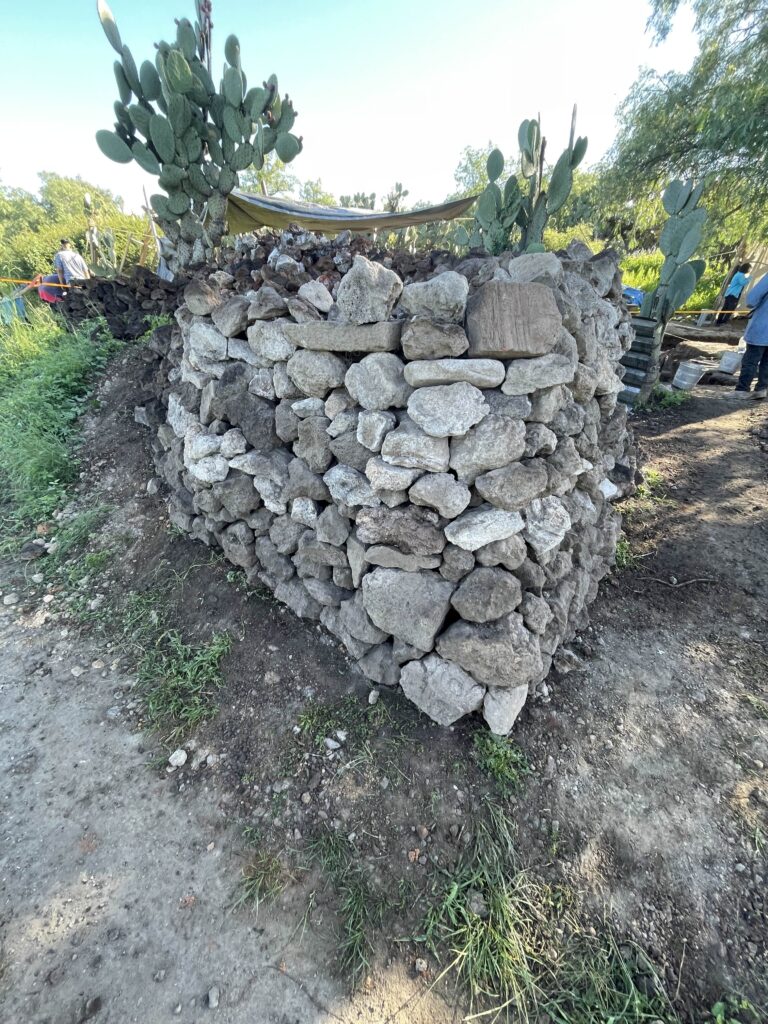
We can find things on a much larger scale than just artifacts, and sometimes an excavation can unearth whole features such as walls, plaster floors, and postholes constructed by the ancient inhabitants of Teotihuacan. Obviously, we can’t exactly place these in little plastic bags, so upon encountering something like a wall or floor we do our best to preserve it in its original state and take as many measurements as we can of its location, height, length and width, general form, and relation to other features. We may even take samples of them for further analysis by doing things like drilling into a floor to retrieve a small piece or scraping small parts of walls off. Additionally, we can also take samples of the soil, often that which is above ancient floors or adjacent to material deposits, for analysis – these samples are treated with a similar care to charcoal samples, as we also try to avoid contaminating these as well.
Once it is time to change layers, we take all the bags of materials found in that layer, seal them, and attach a tag with information such as a bag number, the type of material, the name of the Front, structure, and layer in which the materials were found, and the elevations of the layer derived from our Total Station measurements. All of this information is also entered into a material database through our on-site iPads. The materials are then placed in baskets and loaded into the van, where they will be taken to an on-site facility for analysis and storage at the end of the day.
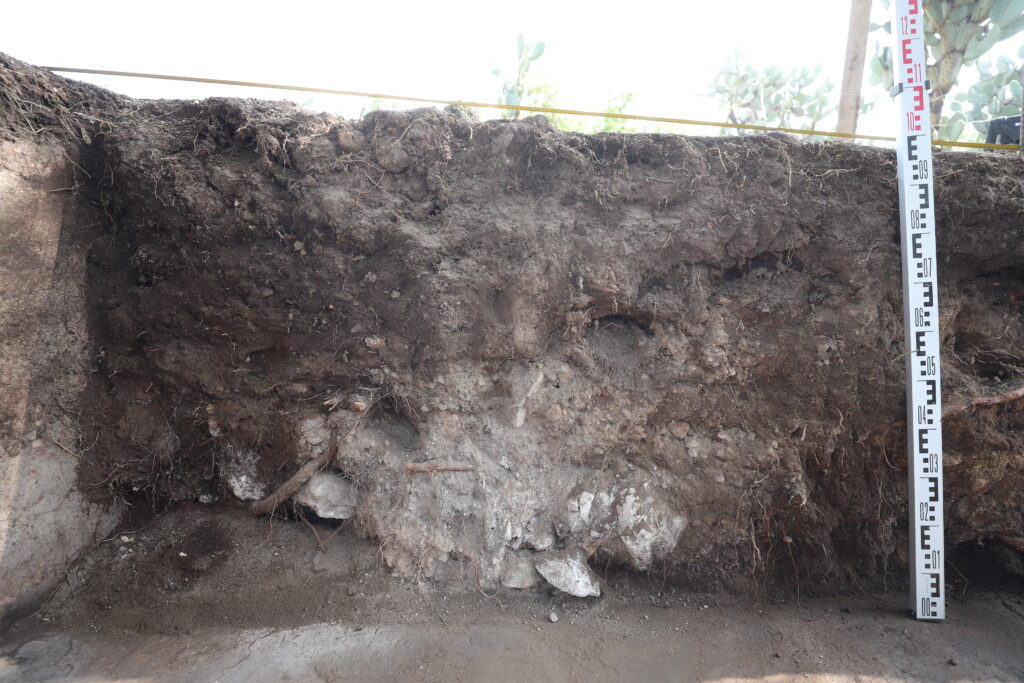
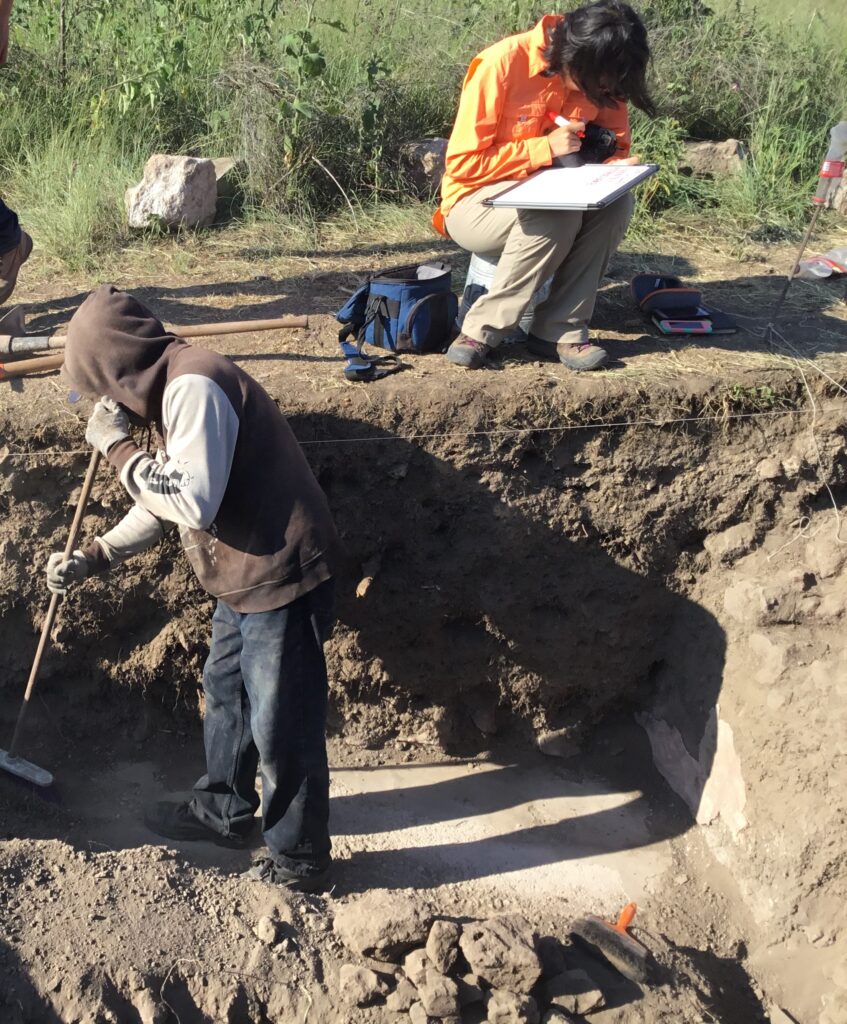
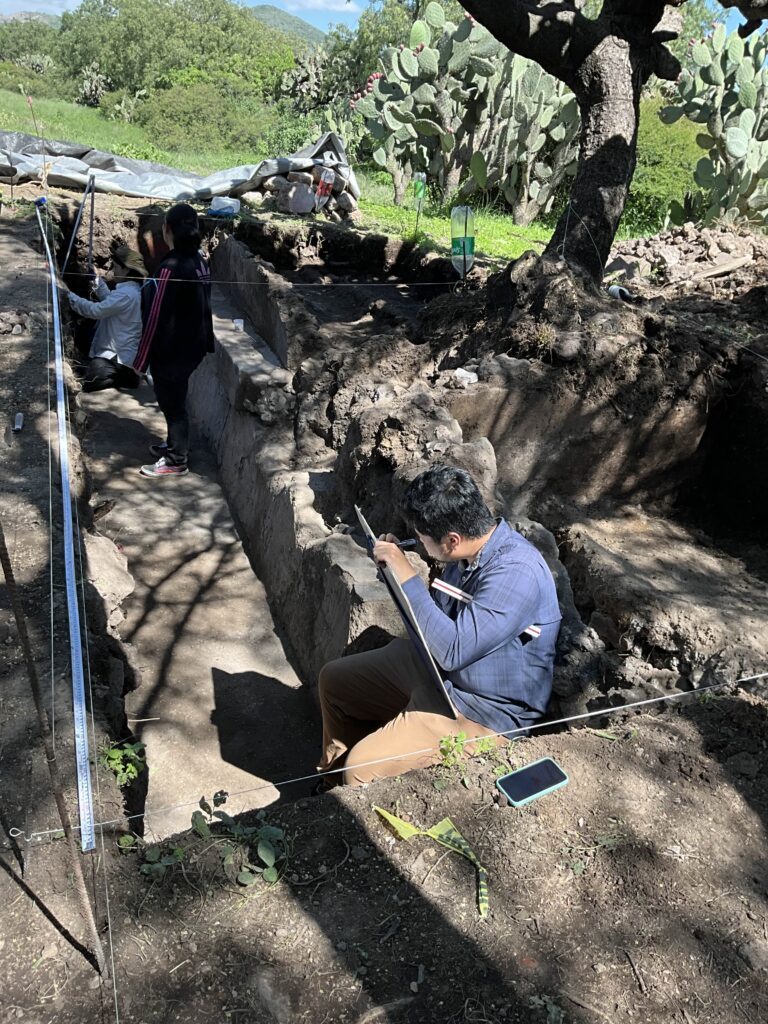
Throughout the process of digging layers and finding materials, we continue to do things like taking photos and Total Station measurements. Once we feel we have excavated down to an appropriate endpoint, we take aerial photos of the square with a drone and take multiple photos of the excavation for a process known as photogrammetry, which can produce digital 3D models of the excavation by stitching together photographs taken from different angles. One important process of archaeological documentation is profile drawing, which involves hand-drawing a sketch of the stratigraphic layers visible on the sides of the excavation. This involves laying a string horizontally across the side of the excavation at a certain height above the surface. Next, we measure how far down from the string different objects are, along this horizontal axis. These objects include the various layers like the earth’s surface or construction fill, intrusive rocks, or even architectural features such as floors. It is also possible to draw profiles using the total station, to measure exact distances, this is useful when drawing profiles that are especially large or deep. A fully drawn profile gives you detailed stratigraphic information as well as approximate architectural dimensions, which prove invaluable for further analysis.
All Work and No Play?
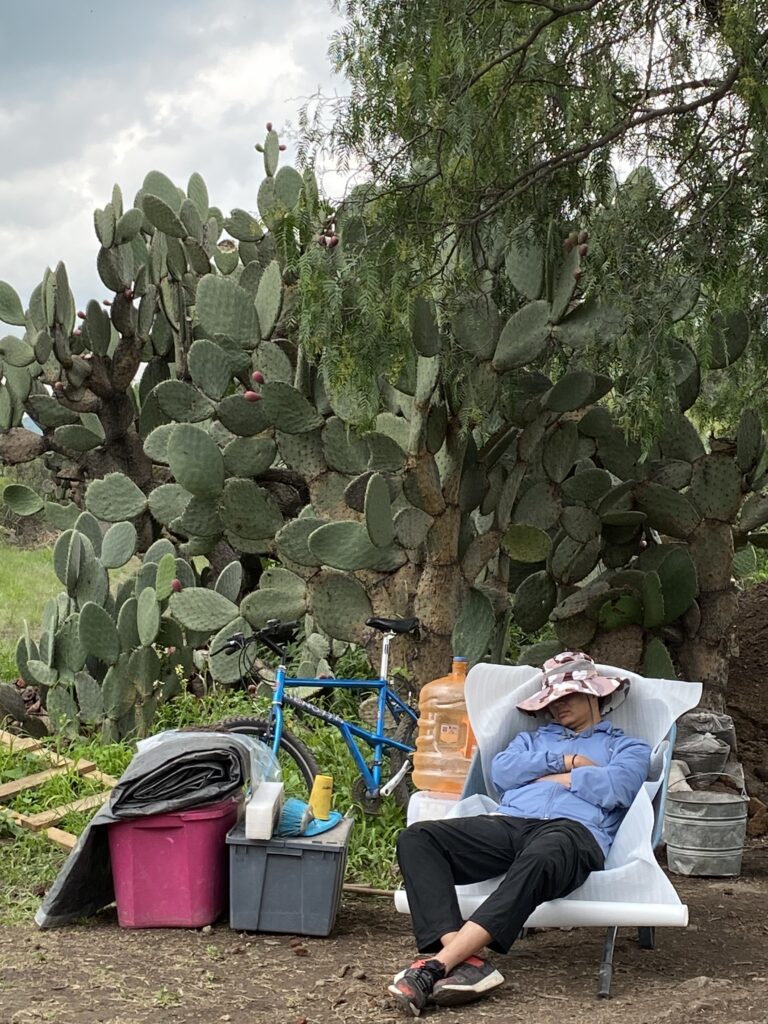
Excavation is a hard and arduous work – but we’re not constantly in the pits, digging, drawing, or writing from morning to evening. From about 12:00 to 1:00 PM, after a good 5 hours or so of work, we take a break to eat and relax, and some members of our team find it a good time to take a nap.
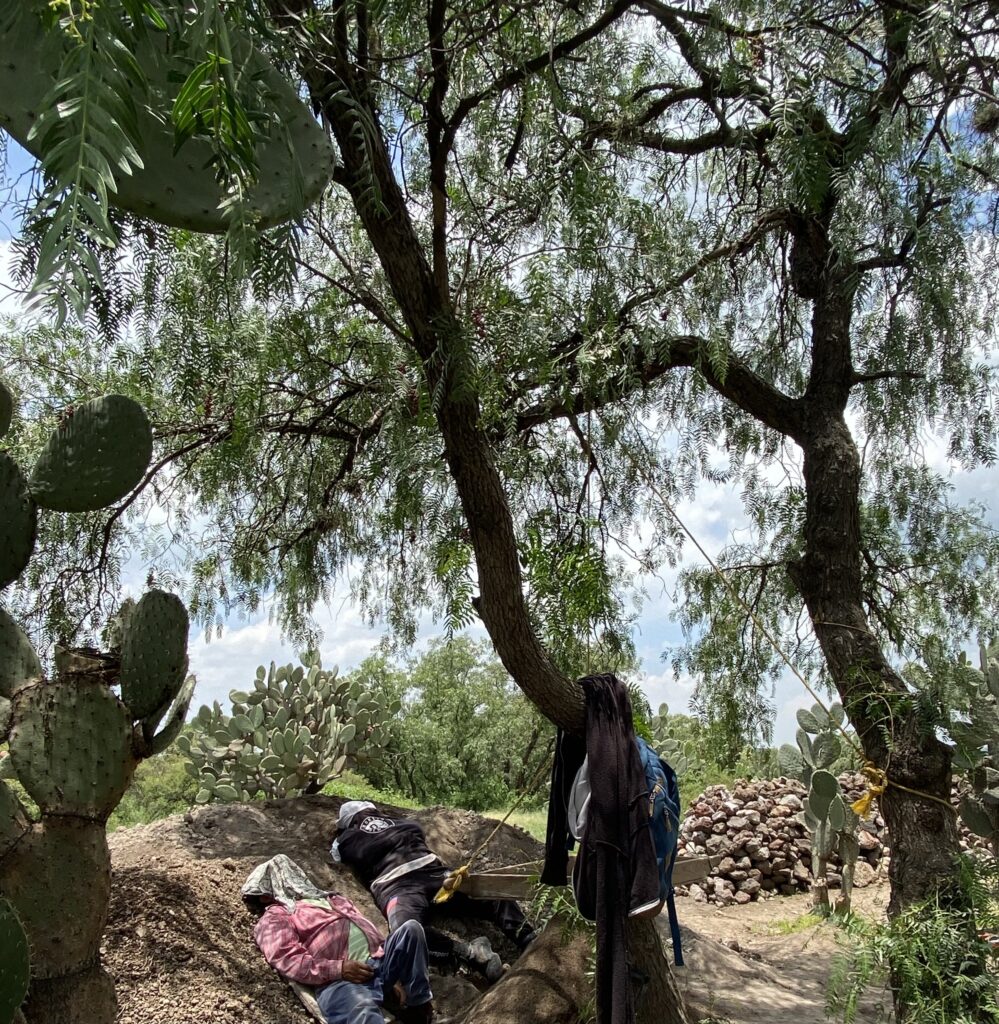
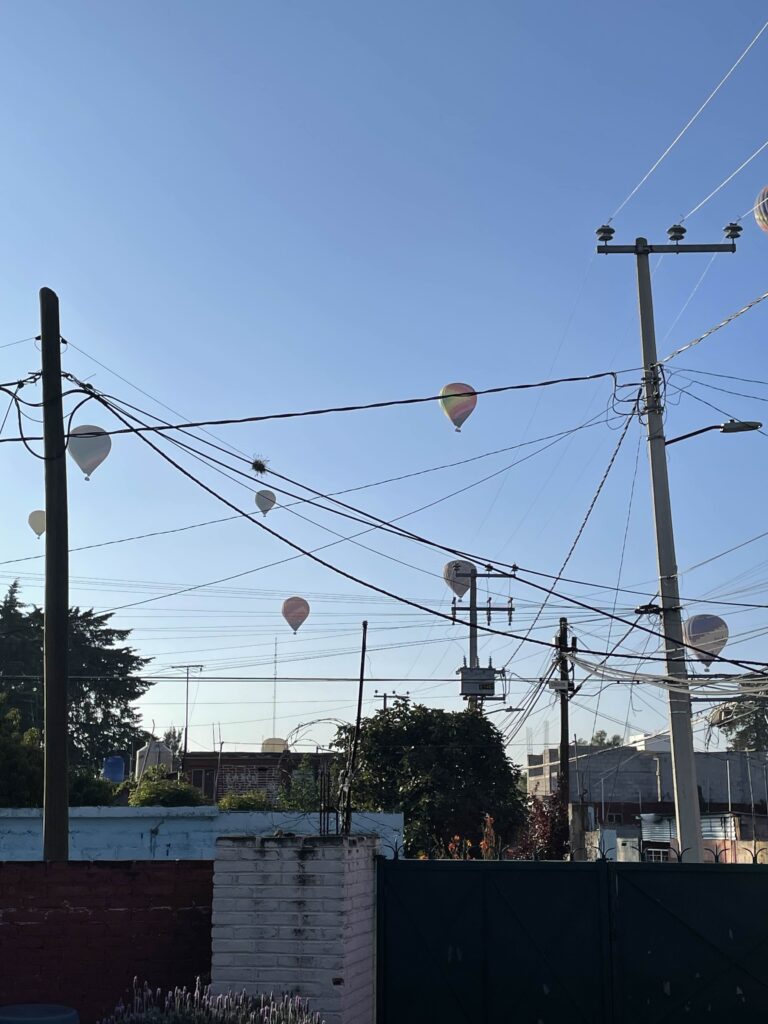
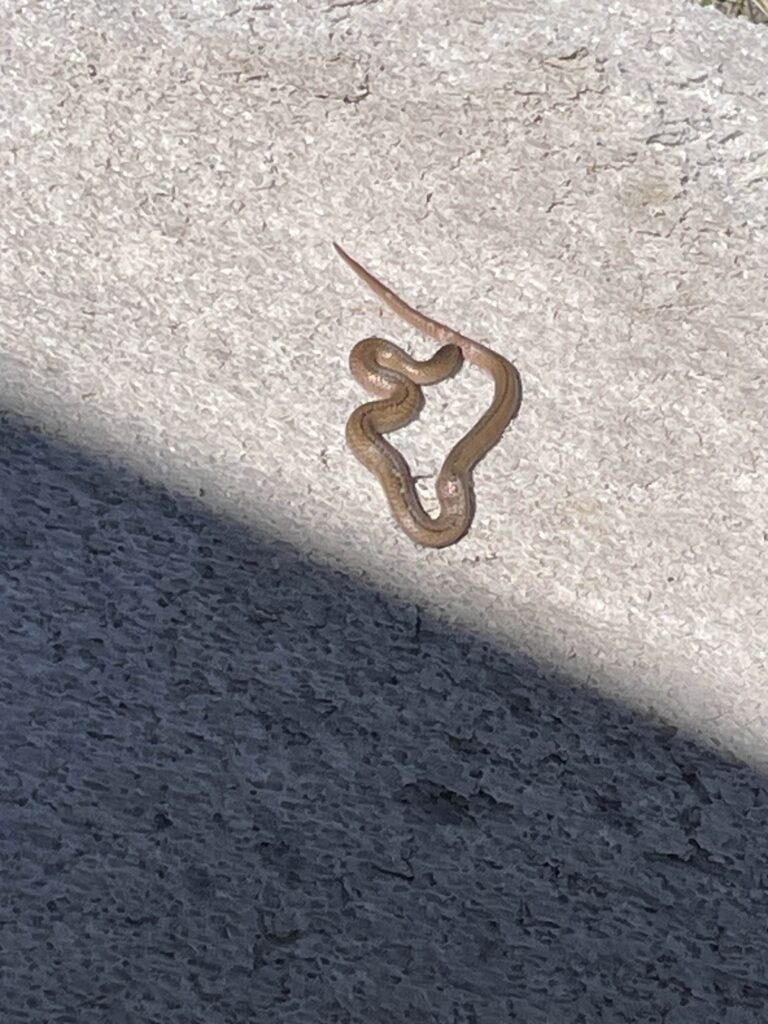
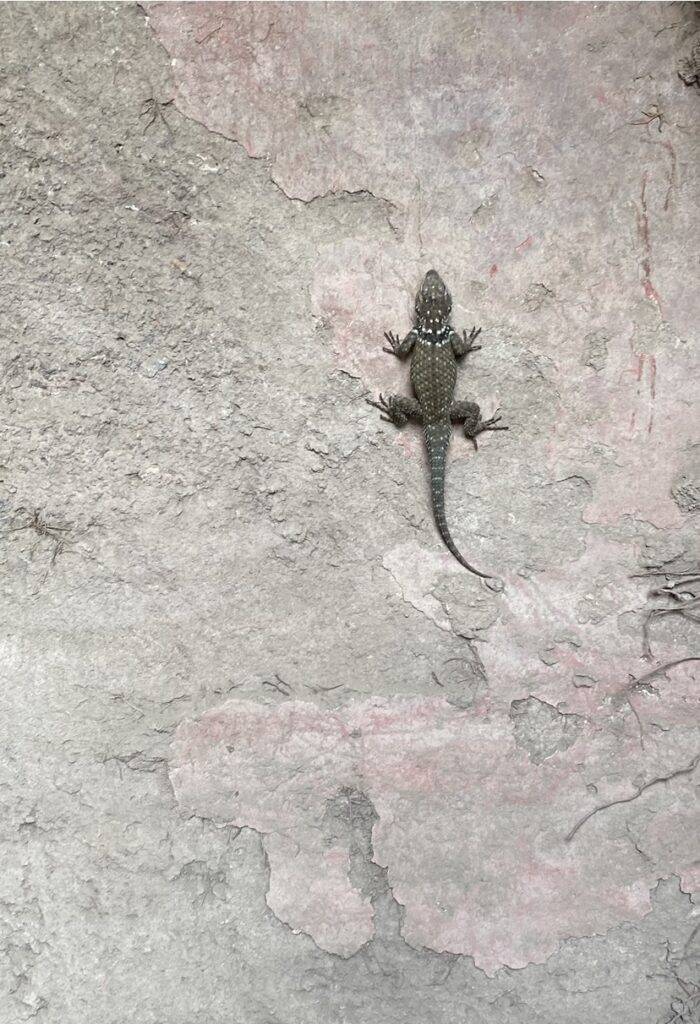
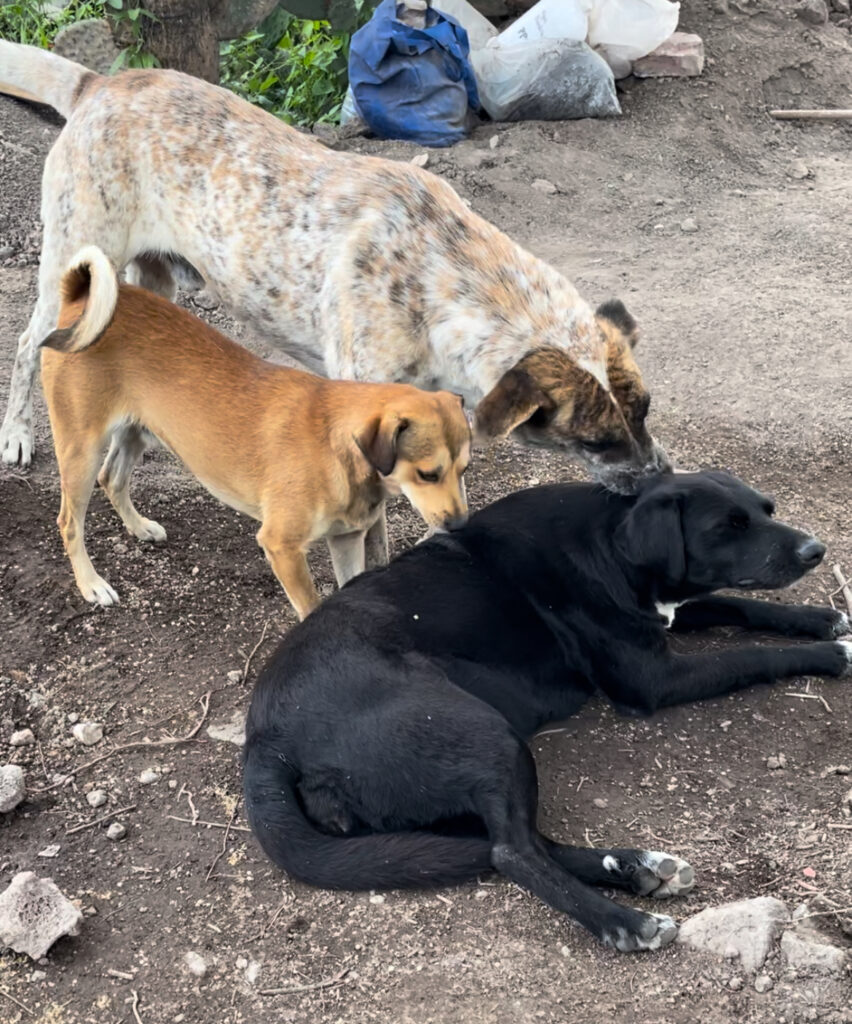
Far from boring, the PPCC pit is a lively setting. Throughout the excavation we chat, visit and check out each other’s excavations and other Fronts, have small snacks and drinks in our little “casita” shack, and listen to music, amplified to the whole excavation through the ingenious process of placing a Bluetooth speaker in a bucket. At times we have visitors who come to take a look at the excavation, and PPCC team members help to show them around and explain a little bit about what we are doing and the amazing things we are finding every day on the dig. The visitors aren’t always human, either!
At around 4:00 PM, at the end of a long day of work, it is time to pack up for the day. We place the large tarps back over the excavation and secure them down with large stones, and load the tools like trowels, brushes, and Total Stations back into their toolboxes and storage cases. Wheelbarrows filled with shovels, pickaxes, and plastic stools get wheeled back to the storage shed. The PPCC team, archaeologists and fieldworkers alike, say their goodbyes and start going home, and the van loaded with all the materials collected that day goes to drop them off. After all is said and done, the team returns home for dinner, rest, and – hopefully – a nice shower.
Work on the project isn’t always being done on-site, however. On days when we are not in the field, often at the end of the work week, we spend time back at the base processing everything we have collected that week. Photos are described and registered in a database, all the notes and descriptions made of soil layers and findings are consolidated into a project digital notebook, profile and plan drawings are digitized in Adobe Illustrator, and Total Station points are saved and stored on project computers. All of this is done to help with writing the end-of-season report, to ensure that our findings are properly documented and the information we uncover is saved for future research and further excavations.
Life at the dig in Teotihuacan is anything but dull and is certainly far more complex than just picking a site and digging straight down. From artifact tagging and bagging, to profile drawing, to Total Station survey, and more, our team thoroughly plans and carries out the excavation of the site such that we can obtain as much information as possible in a relatively small amount of time about the activities, architecture, materials, and culture of ancient Teotihuacan. Now, the next time you read an article detailing a new archaeological find or take a look at an ancient artifact in a museum, you can imagine all the hard work and careful effort going on behind the scenes so that ancient history and culture is preserved for us to learn more about our past.